

Running your own GitLab instance locally is one of the best ways to learn and experiment with CI/CD, version control, and DevOps workflows without relying on external services. Whether you’re a beginner exploring GitLab for the first time or a professional testing pipelines locally, a self-hosted GitLab setup gives you complete control over your environment.
In this article, we’ll set up a self-hosted GitLab instance and a GitLab Runner on your local machine using Docker Compose. Using containers makes the setup simple, portable.
By the end of this guide, you’ll have a fully functional local GitLab environment capable of running CI/CD pipelines.
Before we begin, this guide assumes you have a basic understanding of Git and containers.
Prerequisites
Before starting, ensure the following tools are installed on your local machine:
- Docker
- Docker Compose
Setting Up GitLab Community Edition with Docker Compose
Now that the prerequisites are out of the way, let’s move on to the actual setup.
For this guide, I’m using GitLab Community Edition (CE), which is open-source and perfectly suited for self-hosting on a local machine.
Choosing the GitLab Version
GitLab provides official Docker images through Docker Hub. From the available tags, I selected version 18.5.2-ce.0 . You can browse the available images here (Dockerhub)
Project Directory Structure
To keep things clean and organized, I created a dedicated project folder named gitlab. Inside it, I separated gitlab-ce and gitlab-runner into their own directories, below is my folder structure:
gitlab/
├── gitlab-ce/
│   └── docker-compose.yml
└── gitlab-runner/
    └── docker-compose.yml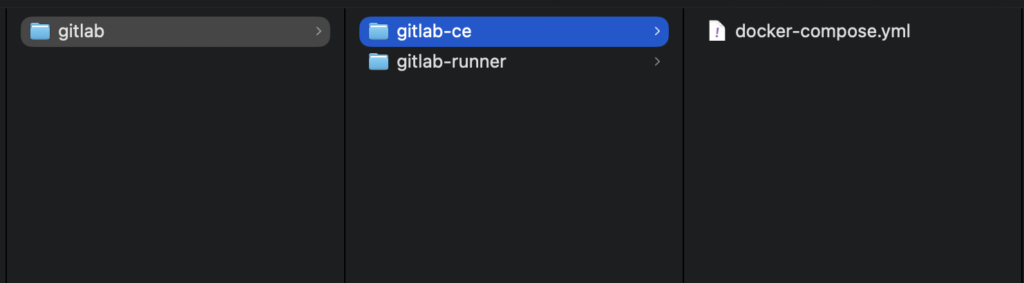
Docker Compose Configuration for GitLab CE
Create a shared Docker network, so that gitlab and gitlab runner remain in the same network. You only need to do this once.
docker network create gitlab-netInside the gitlab-ce directory, I created a basic docker-compose.yml file based on the official GitLab Docker documentation. Below is the compose file I used:
services:
  gitlab:
    image: gitlab/gitlab-ce:18.5.2-ce.0
    container_name: gitlab
    networks:
      - gitlab-net
    restart: always
    hostname: 'localhost'
    environment:
      GITLAB_OMNIBUS_CONFIG: |
        external_url 'http://localhost:8929'
        gitlab_rails['gitlab_shell_ssh_port'] = 2424
        nginx['listen_port'] = 8929
        nginx['listen_https'] = false
    ports:
      - '8929:8929'
      - '2424:22'
    volumes:
      - gitlab_config:/etc/gitlab
      - gitlab_logs:/var/log/gitlab
      - gitlab_data:/var/opt/gitlab
    shm_size: '256m'

volumes:
  gitlab_config:
  gitlab_logs:
  gitlab_data:

networks:
  gitlab-net:
external: true Understanding the GitLab Docker Compose Configuration
GitLab Omnibus Configuration
GitLab’s Omnibus image allows configuration using Ruby-style settings via the GITLAB_OMNIBUS_CONFIG environment variable. You can read more about it in the official documentation
- external_url ‘http://localhost:8929‘
Sets the URL GitLab uses to generate links in the UI, emails, and repository clone URLs. - gitlab_shell_ssh_port = 2424
Tells GitLab that SSH access will happen on port2424instead of the default22. This will modify the port in the gitlab. ssh clone url - nginx[‘listen_port’] = 8929
Configures GitLab’s internal NGINX server to listen on port8929. - nginx[‘listen_https’] = false
Disables HTTPS for now, keeping the setup simple for local development.
(HTTPS can be added later using a reverse proxy like NGINX or Traefik.)
Port Mappings
- 8929:8929
Exposes GitLab’s web interface on host systems port 8929 - 2424:22
Maps container SSH port22to host port2424, matching the SSH port configured earlier.
This setup allows:
- Web UI →
http://localhost:8929 - Git over SSH →
ssh -p 2424
Persistent Volumes
These volumes ensure data persistence:
- config → GitLab configuration files
- logs → Application and system logs
- data → Repositories, CI artifacts, database files, and uploads
Even if the container is removed or recreated, your GitLab data remains intact. These folder will be created automatically in the gitlab-ce folder when you start the container initially.
Starting GitLab
From inside the gitlab-ce directory, bring up GitLab using:
docker compose up -dThe first startup may take a few minutes since GitLab needs to initialize services and perform internal setup.
Once it’s ready, you can access GitLab at:
http://localhost:8929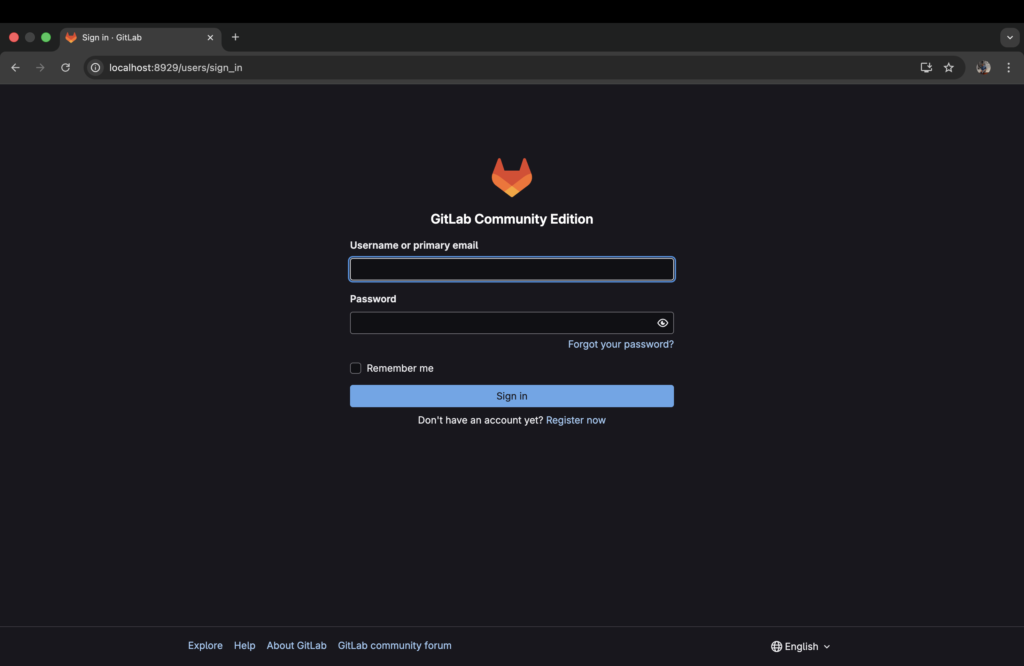
the default username is root and the default password can be obtained by running the following command:
docker exec -it gitlab grep 'Password:' /etc/gitlab/initial_root_passwordAfter login you’ll be presented with the homepage
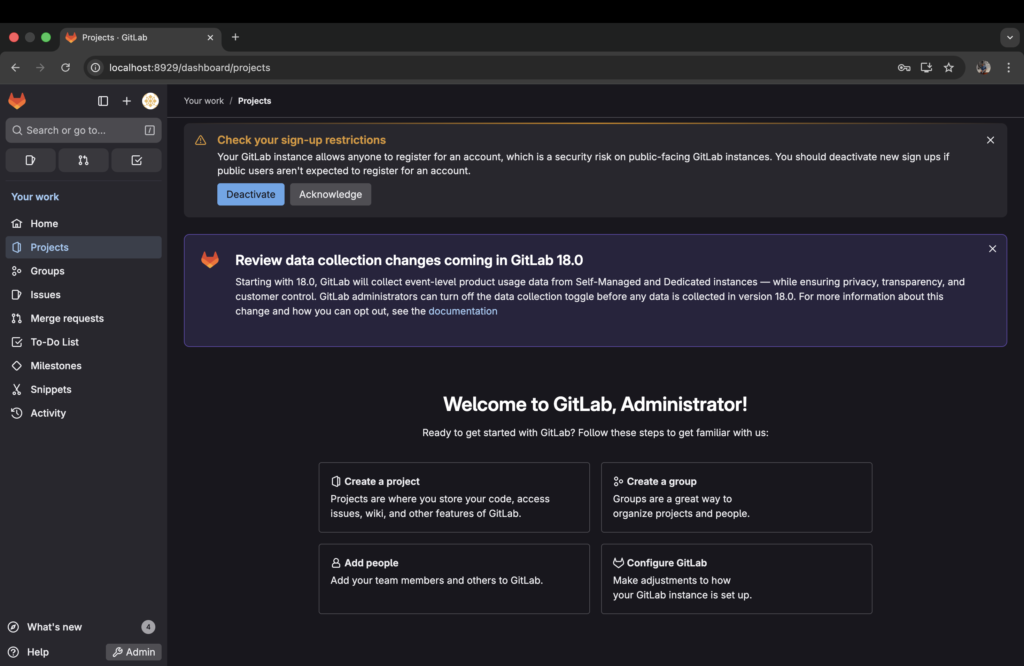
At this point, your self-hosted GitLab instance is up and running. In the next step, we’ll set up GitLab Runner and connect it to this GitLab instance to enable CI/CD pipelines.
Setting Up a GitLab runner
Docker Compose Configuration for GitLab Runner
create the docker-compose.yaml file in the gitlab-runner folder like we discussed above.
services:
  gitlab-runner:
    image: gitlab/gitlab-runner:latest
    container_name: gitlab-runner
    networks:
      - gitlab-net
    restart: always
    privileged: true  # Needed if you want to use Docker executor
    volumes:
      - /var/run/docker.sock:/var/run/docker.sock  # Allow Docker builds
      - gitlab_runner_config:/etc/gitlab-runner
    environment:
      - TZ=Asia/Kolkata

volumes:
  gitlab_runner_config:

networks:
  gitlab-net:
external: true Starting GitLab-Runner
From inside the gitlab-runner directory, bring up GitLab-Runner using:
docker compose up -dRegistering the runner with Gitlab
Our Gitlab-Runner is now up and the next step is to connect the runner with our Gitlab instance, for that follow the below steps.
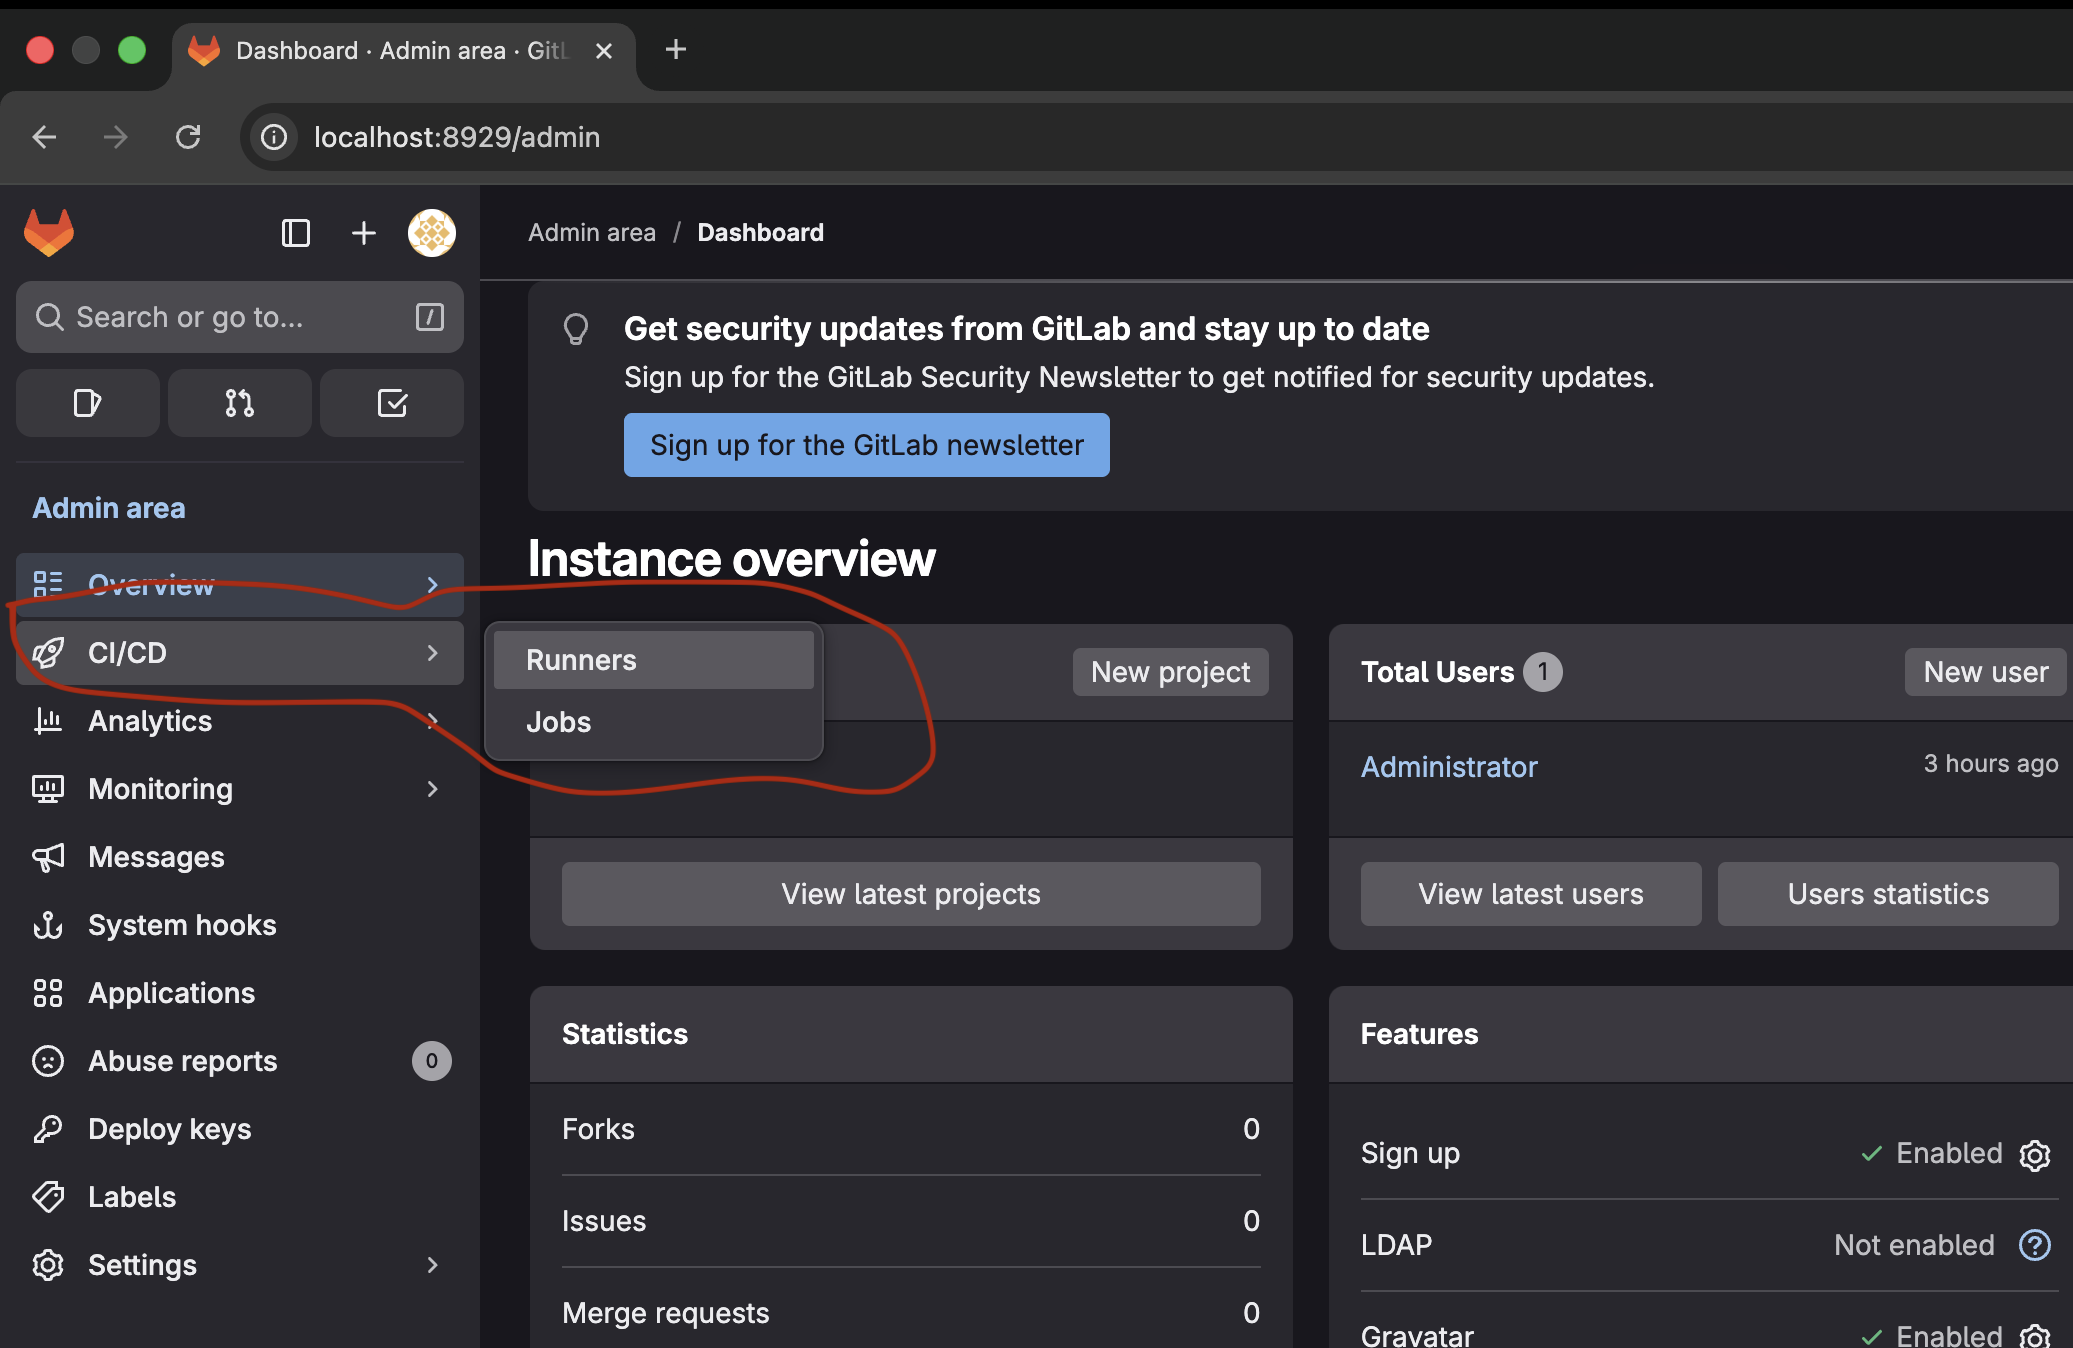
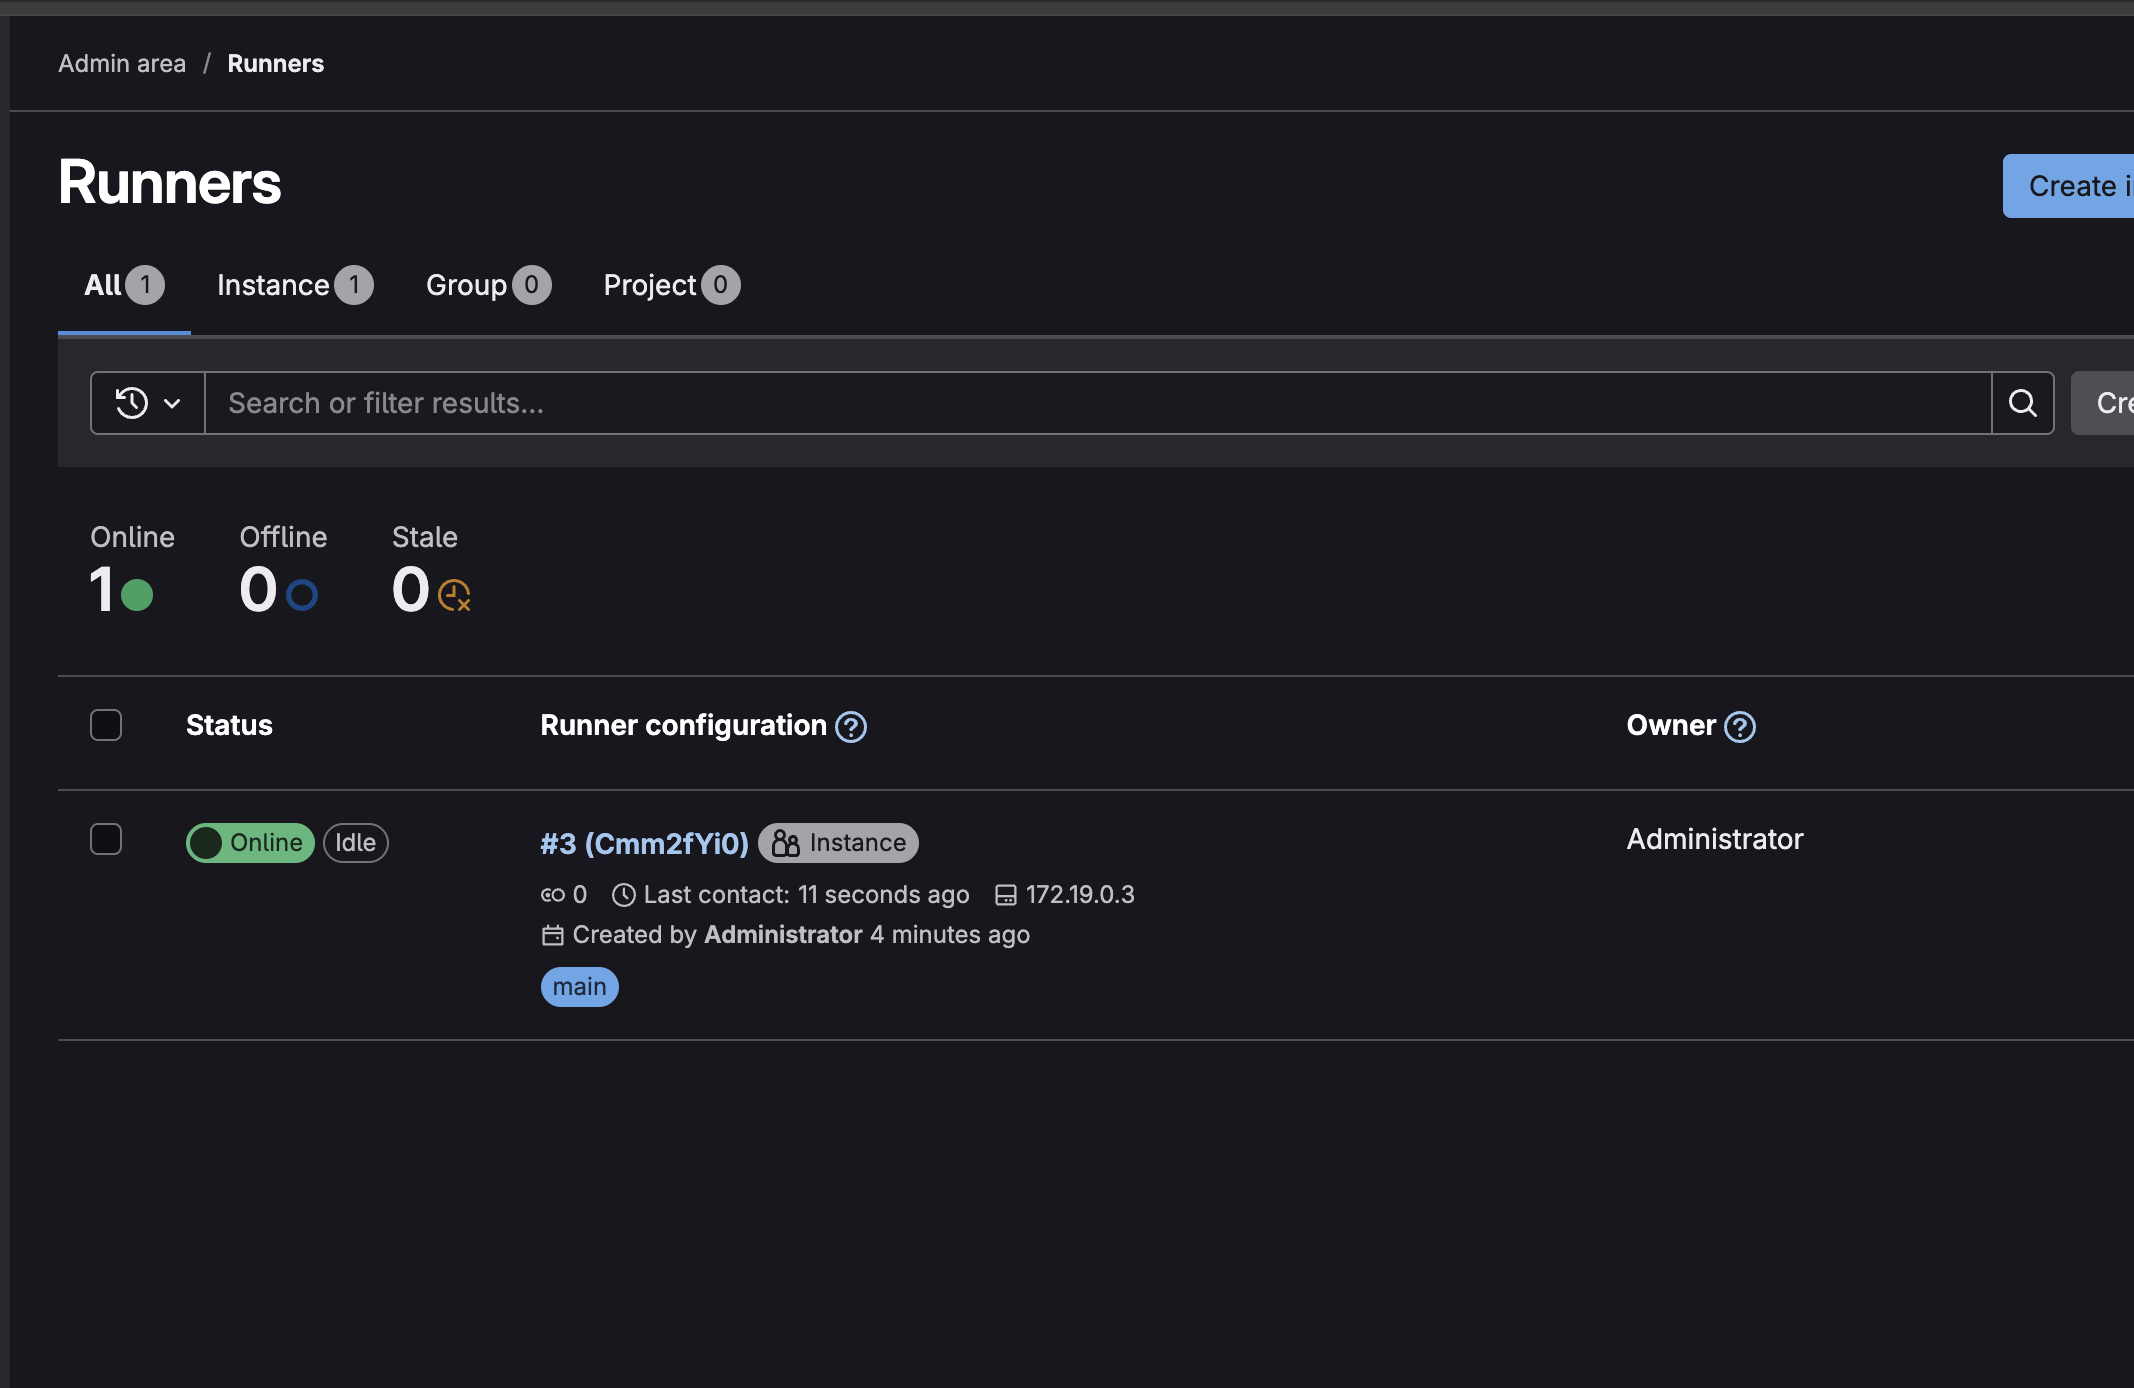
1. Click on the admin icon on the home page
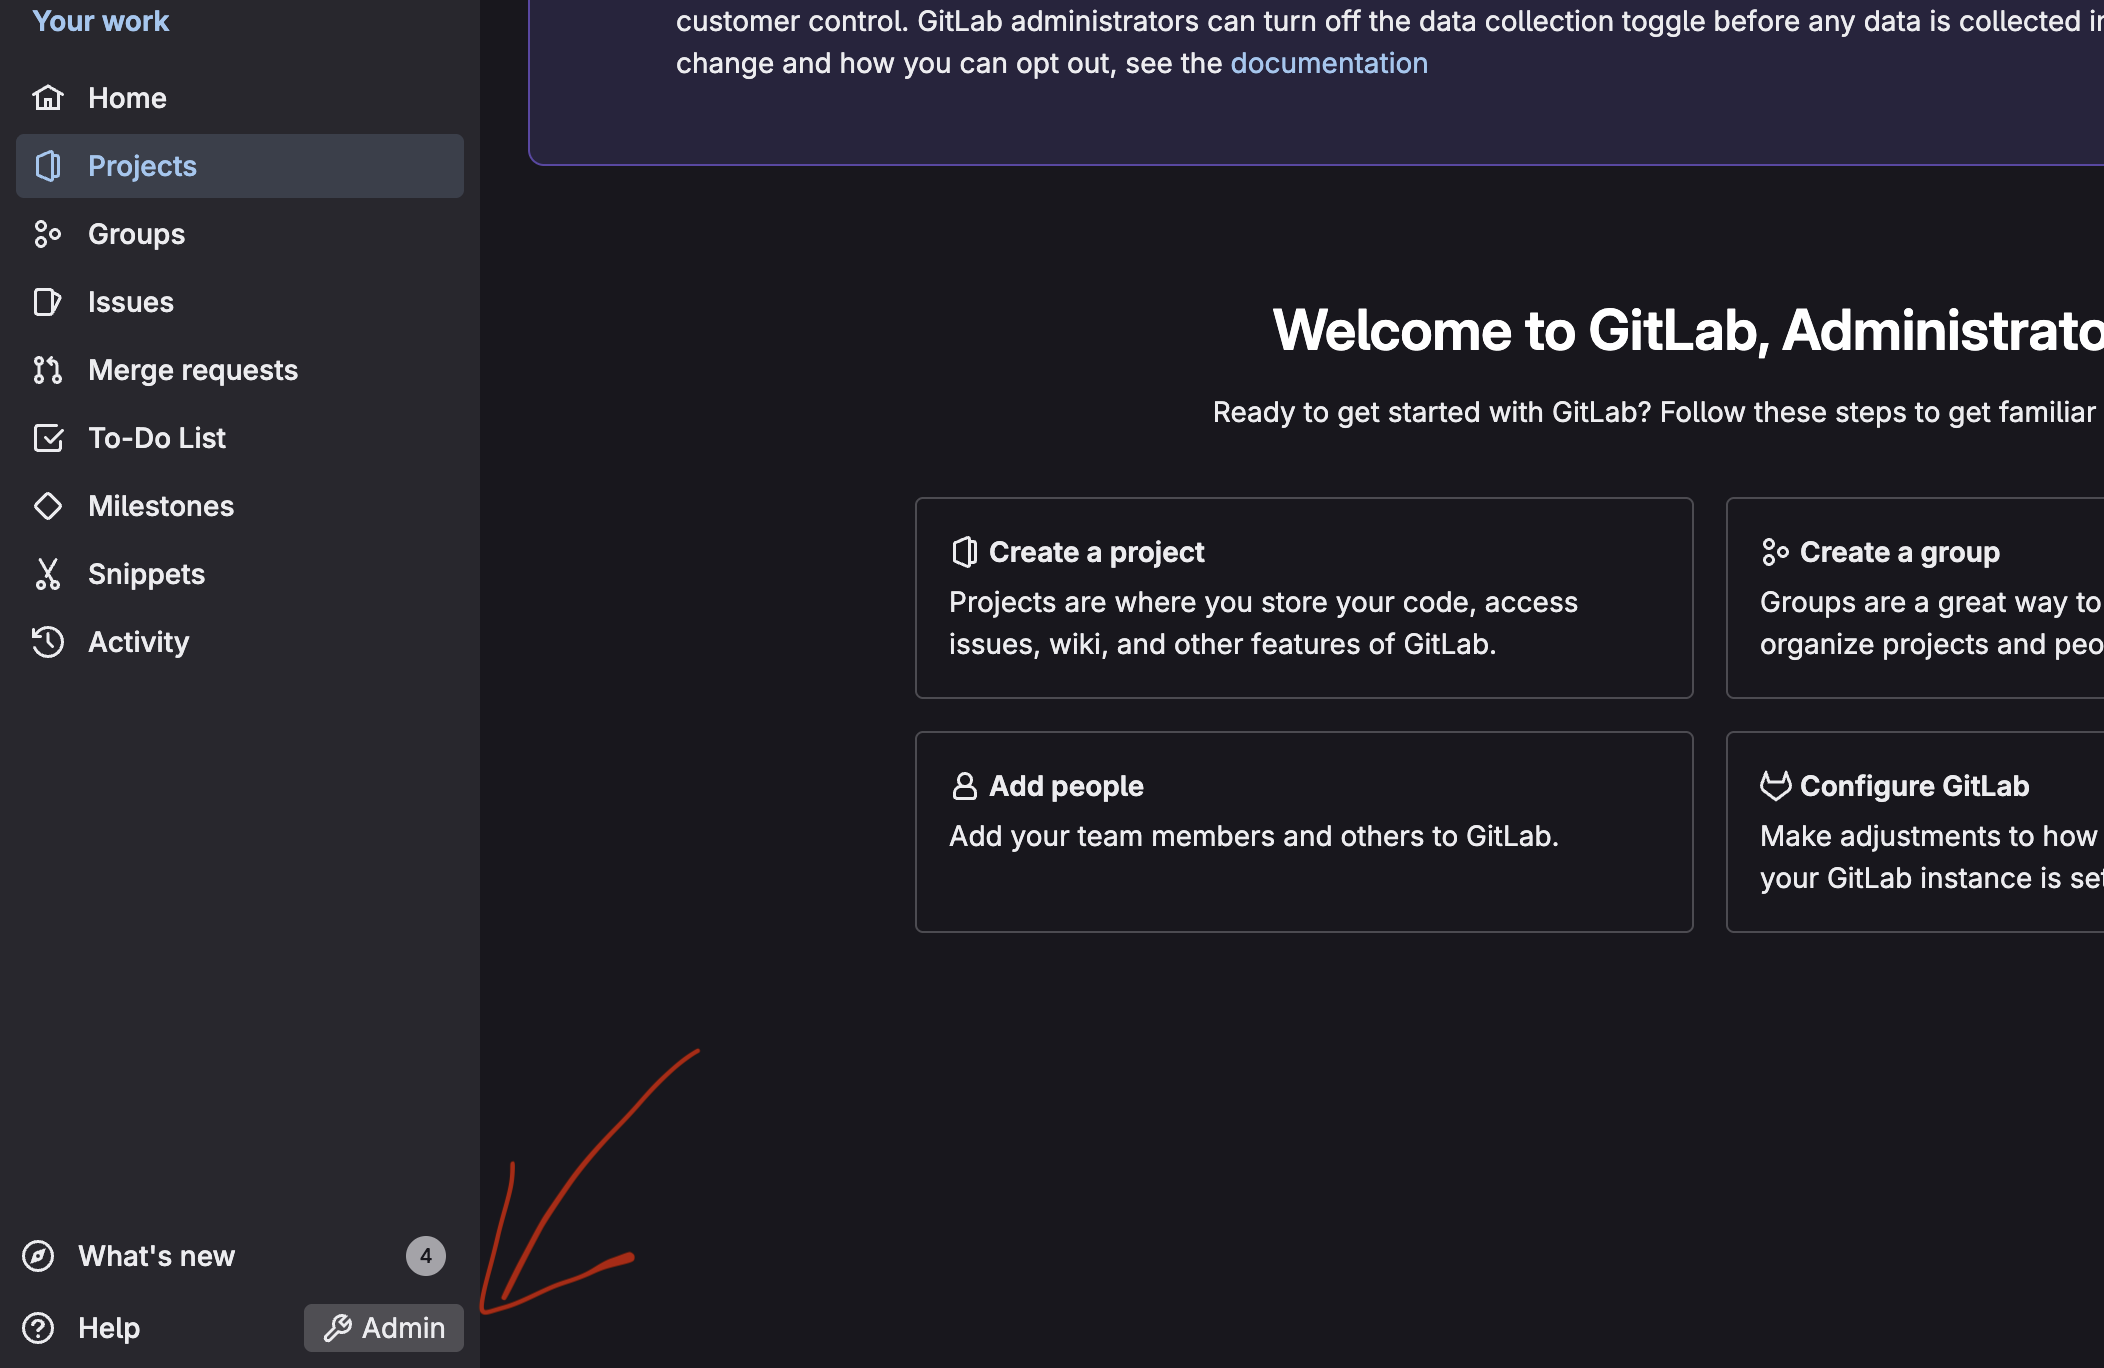
2. Under CI/CD select the option runners.
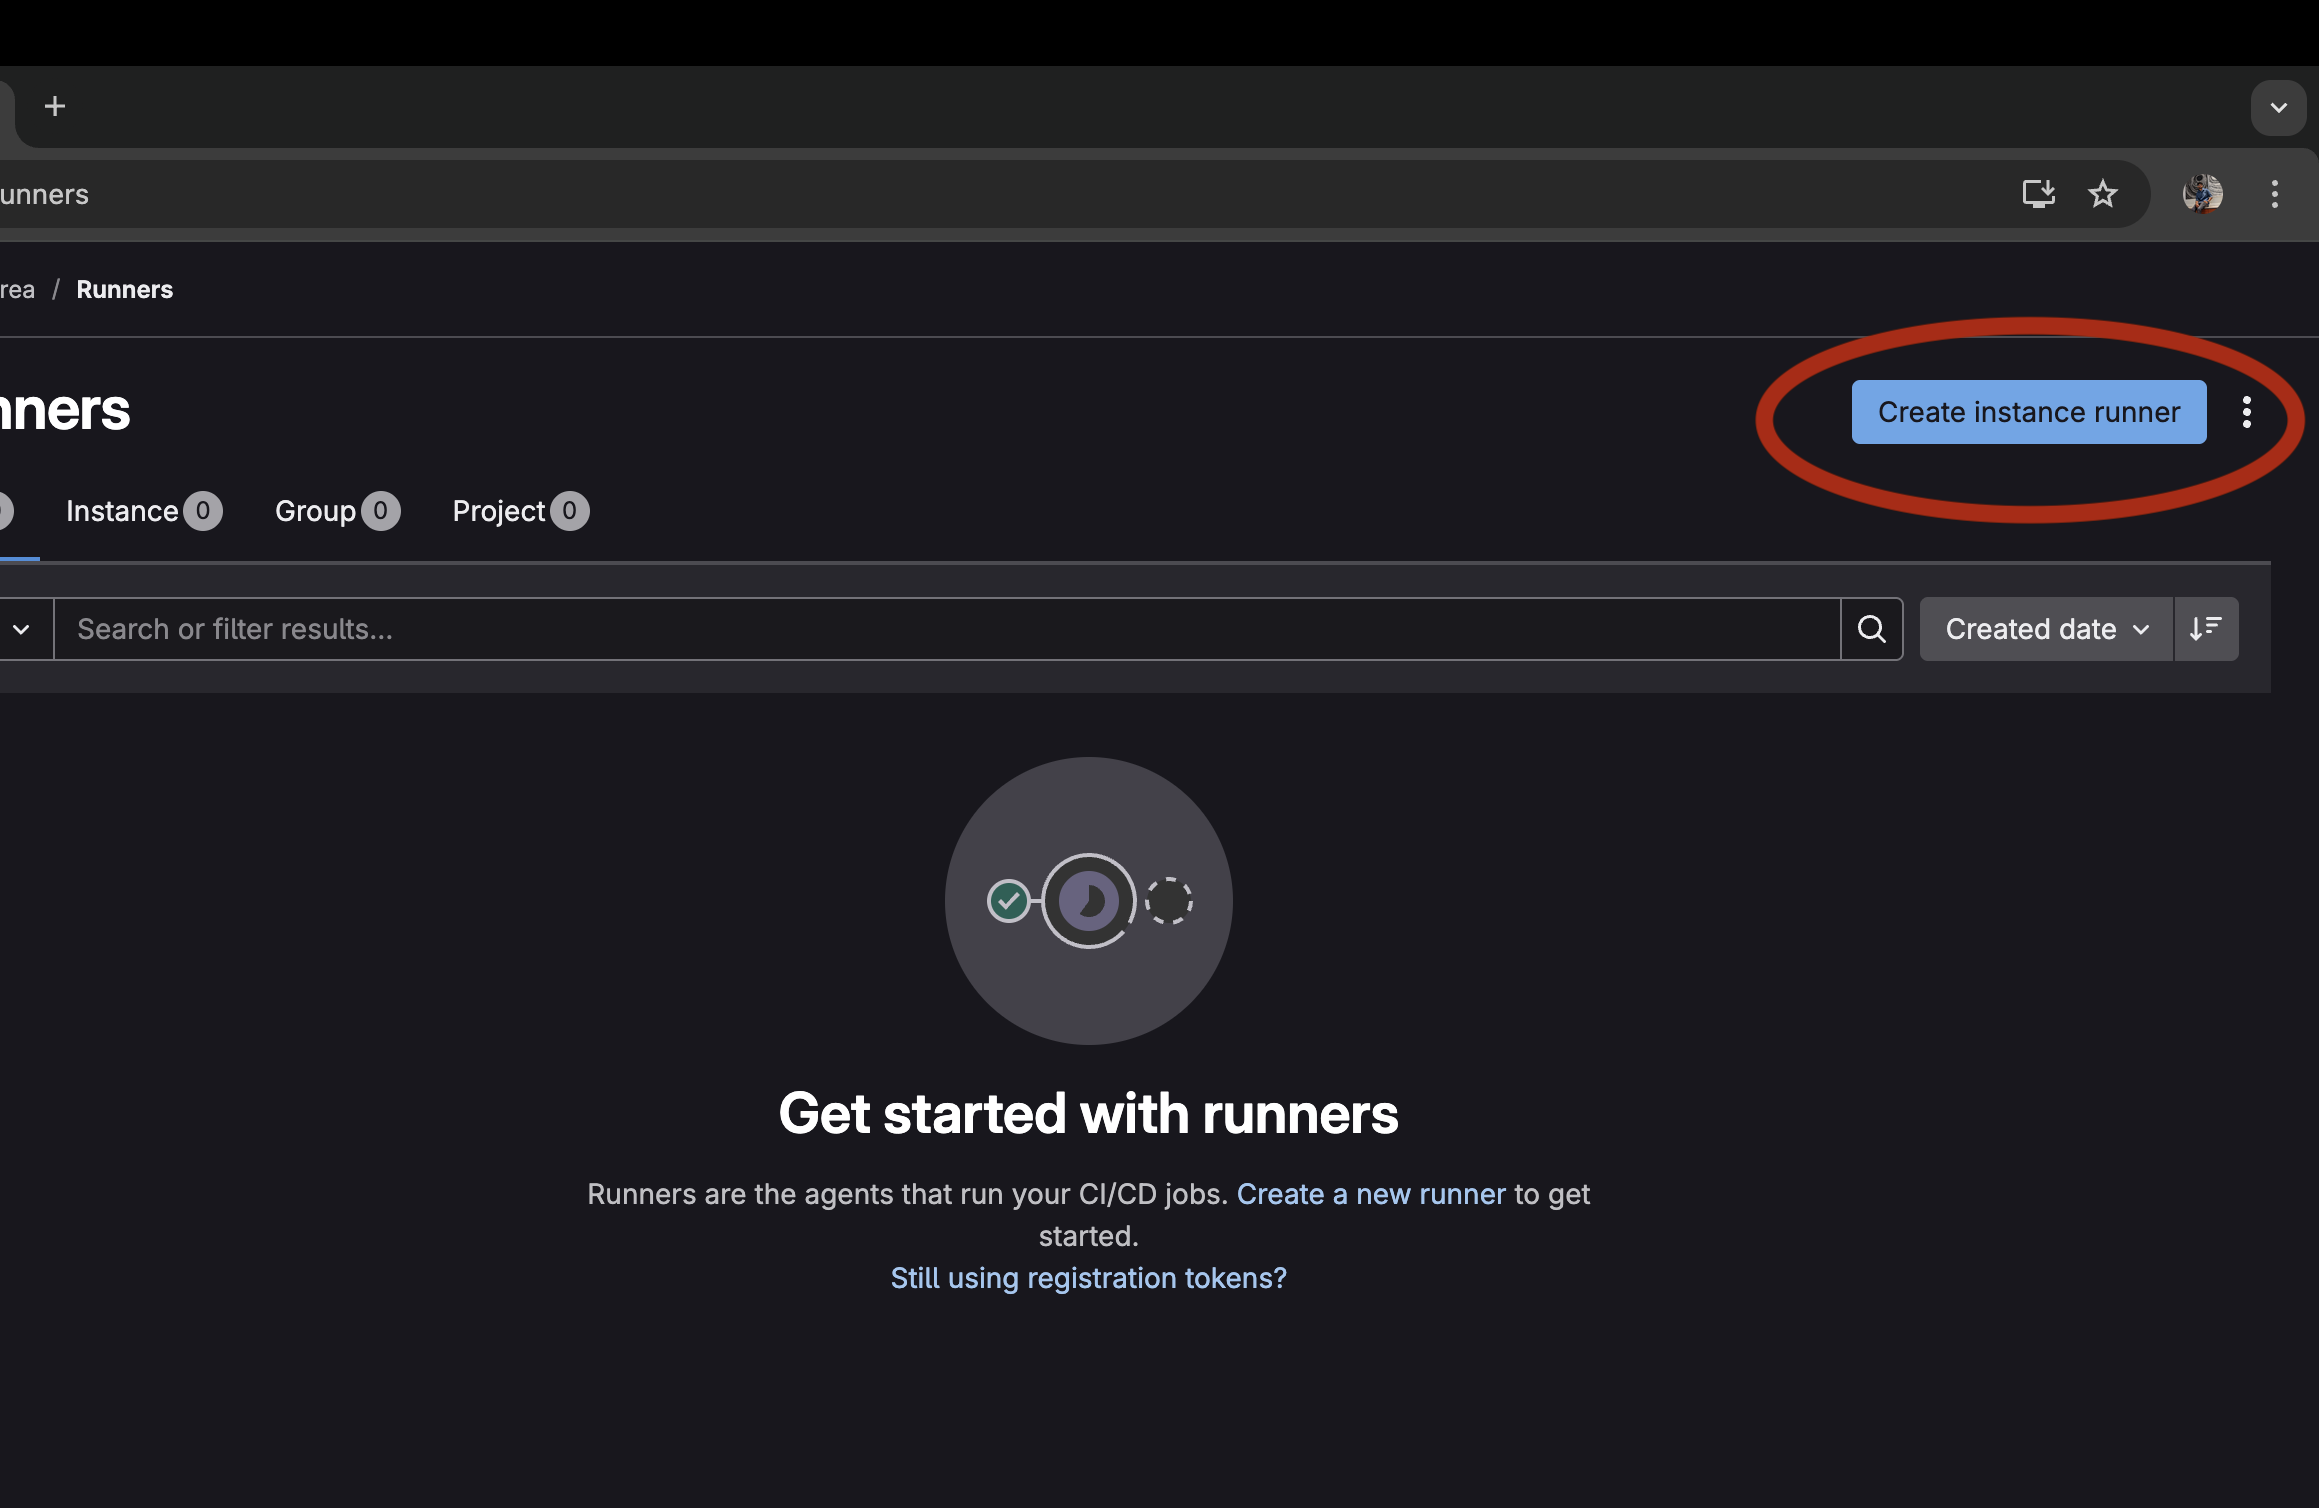
3. Select the option, create instance runner
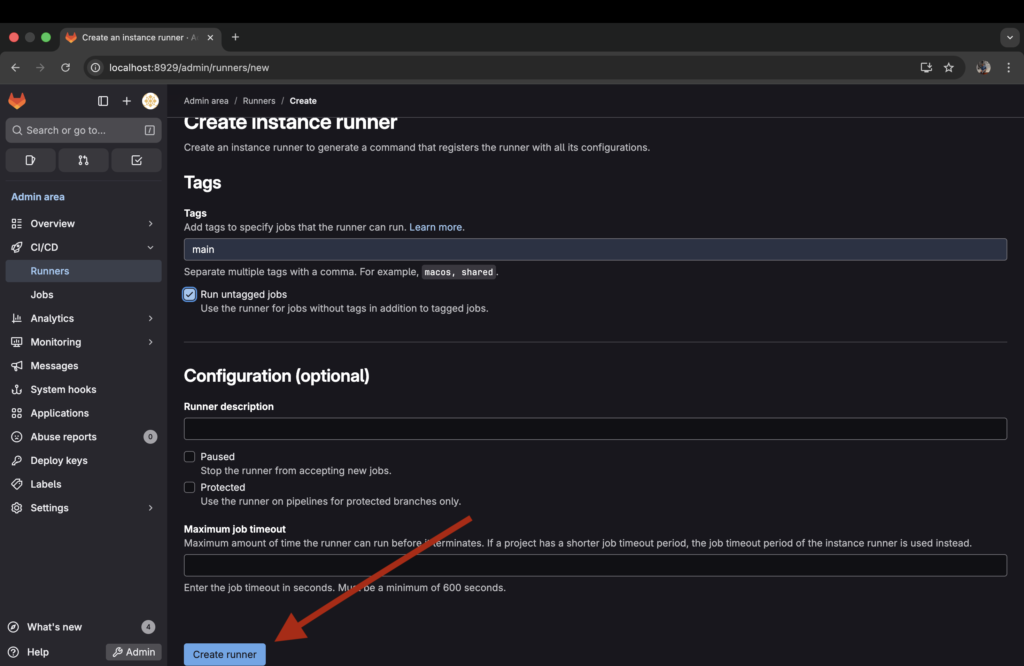
4.Give it a tag and check the run untagged jobs checkbox and click create runner
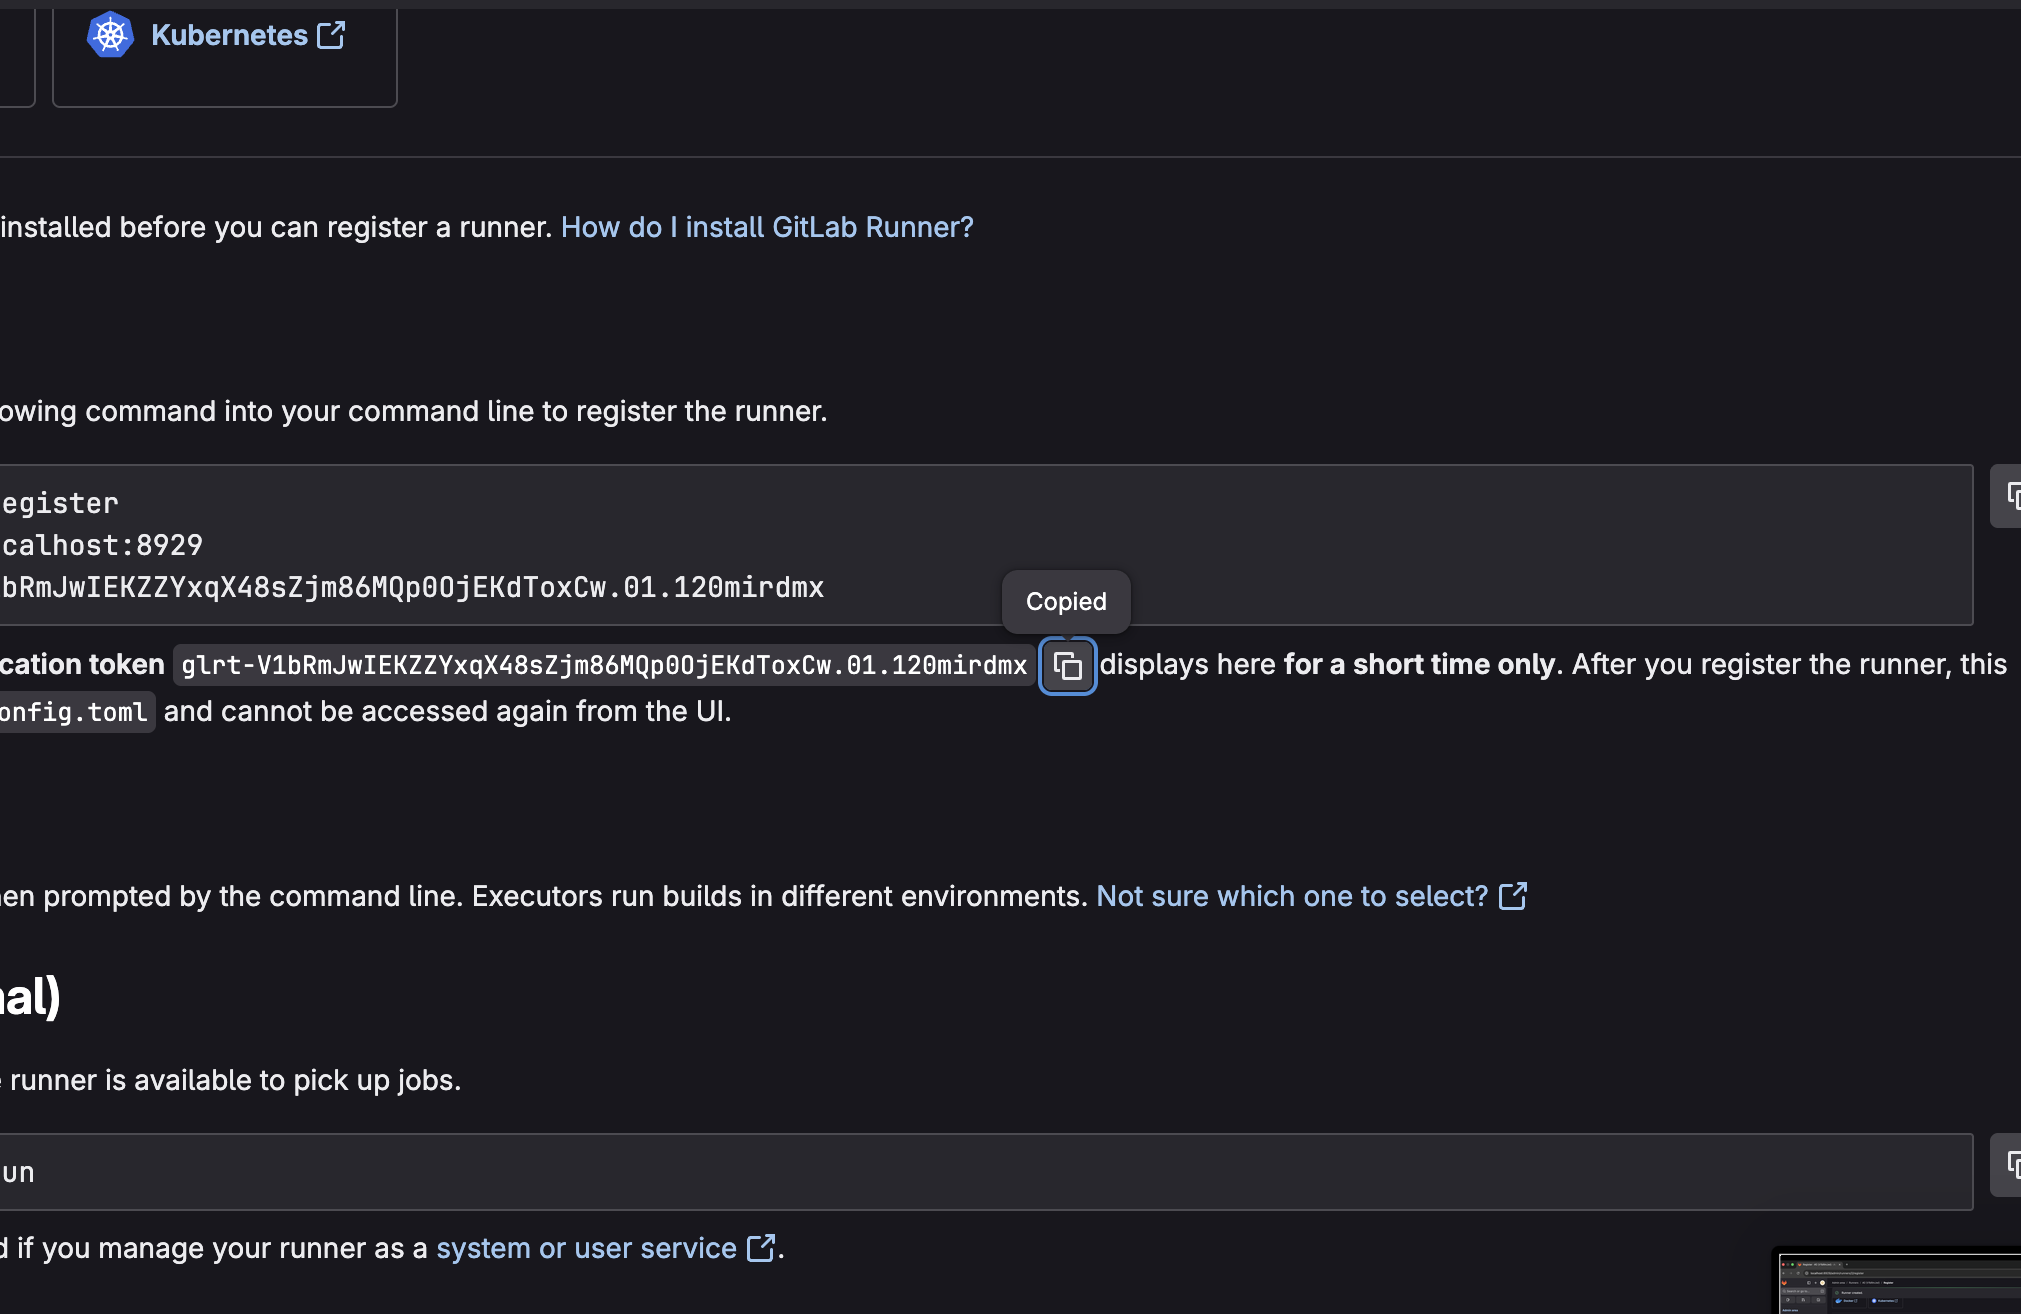
5. Copy the runner authentication token ( Keep it handy, you need it later)
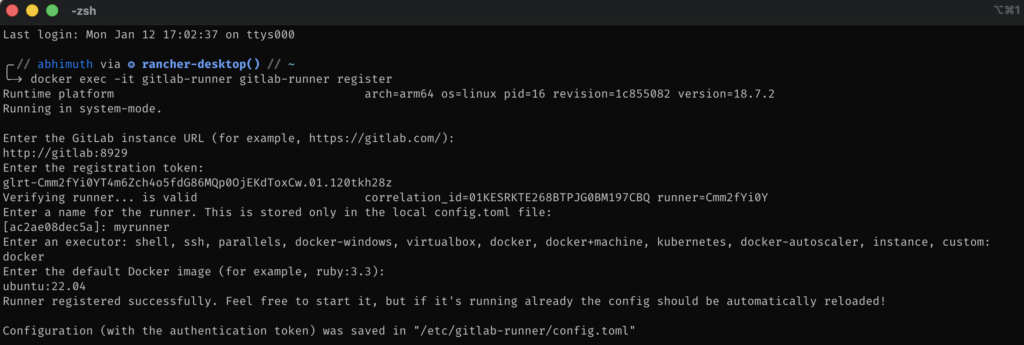
6. Now we’ll configure the runner, for that go to the terminal and run the following command to exec into the container
docker exec -it gitlab-runner gitlab-runner register7. It will prompt you to enter the gitlab instance url, in this case the runner and gitlab is on the same docker network so the url will be http://container-name:port, in this case it is
http://gitlab:89298. In the next step enter the registration token you copied in step 5.
9. Give a name for your runner
10. Enter an executor shell, in this case it is: docker
11. Enter the default docker image: docker:stable
If you go back to the gitlab runner page you can see that the runner is now online
Conclusion
Self-hosting your own GitLab instance and GitLab Runner using Docker gives you complete control over your CI/CD workflows, source code, and infrastructure. With Docker and Docker Compose, the setup becomes reproducible, portable, and easy to manage—even on a local machine. This approach is ideal for learning, experimenting, and building a solid foundation in GitLab CI/CD without relying on third-party services.
Whether you’re a DevOps beginner sharpening your skills or a team looking for a lightweight self-hosted CI/CD solution, this setup is a great starting point. Keep experimenting, optimize your pipelines, and gradually evolve your GitLab deployment toward a more production-ready architecture.